Here we show you how you can install Windows 11 with a Local Account and omit the Microsoft Account requirement. It forces the latter if you have already connected your device to the Internet. However, you can bypass this requirement and set up Windows 11 with a traditional account type.
Before proceeding, let’s discuss how each account type is different from another.
Nowadays Windows versions (usually Windows 10 and later) allow the user to work with two different types of accounts. Currently by default the Windows offers using a Microsoft Account. It is an online account which connects to Microsoft’s own services and apps, and brings extra features like OneDrive, Office etc.
The local is the past, classic account type, which have been available for years in older releases of the Windows. It can’t be used to work with additional Microsoft services, but it can use an empty password, it doesn’t require PIN. It is worth noting that in the other hands it is far better for privacy. Some Windows users still prefer this traditional way to sign in.
This post will show you three different methods to install Window 11 with a Local Account.
METHOD 1: DISABLE YOUR INTERNET ACCESS
This is one obvious hint and probably the easiest method. Simply disconnect the Internet and prevent Windows 11 from creating a Microsoft account. Keep it mind it is best to disable the Internet already before the Windows installer starts. Otherwise, the system will remember that the connection was available. When Internet is disabled Windows will only be forced to provide you local account to log in.
METHOD 2: Using an answer file to install Windows 11 without a Microsoft Account
Below we present the autounattend.xml file. Simply create this file in the root of your bootable USB drive or image, and it will automate following tasks for you:
- Perform the disk management
- Connect to a network of choice
- Set the time zone
- Specify the wanted password for a local account
Contents of autounattend.xml file below:
<?xml version="1.0" encoding="utf-8"?>
<unattend xmlns="urn:schemas-microsoft-com:unattend">
    <settings pass="oobeSystem">
        <component name="Microsoft-Windows-International-Core" processorArchitecture="amd64" publicKeyToken="31bf3856ad364e35" language="neutral" versionScope="nonSxS" xmlns:wcm="http://schemas.microsoft.com/WMIConfig/2002/State" xmlns:xsi="http://www.w3.org/2001/XMLSchema-instance">
            <InputLocale>0409:00000409/InputLocale>
            <SystemLocale>EN-US</SystemLocale>
            <UILanguage>EN-US</UILanguage>
            <UILanguageFallback>EN-US</UILanguageFallback>
            <UserLocale>EN-US</UserLocale>
        </component>
        <component name="Microsoft-Windows-Shell-Setup" processorArchitecture="amd64" publicKeyToken="31bf3856ad364e35" language="neutral" versionScope="nonSxS" xmlns:wcm="http://schemas.microsoft.com/WMIConfig/2002/State" xmlns:xsi="http://www.w3.org/2001/XMLSchema-instance">
            <OOBE>
                <HideOnlineAccountScreens>true</HideOnlineAccountScreens>
                <ProtectYourPC>3</ProtectYourPC>
            </OOBE>
            <UserAccounts>
                <LocalAccounts>
                    <LocalAccount wcm:action="add">
                        <Description>Local user with admin privileges</Description>
                        <DisplayName>User</DisplayName>
                        <Group>Administrators</Group>
                        <Name>User</Name>
                    </LocalAccount>
                </LocalAccounts>
            </UserAccounts>
            <RegisteredOwner>User</RegisteredOwner>
        </component>
    </settings>
</unattend>
File above is for English version of Windows 11, and English (US) locale.
It will automatically install Windows 11 with a local account named User. It will have administrative privileges, and by default password for this account will be empty (so no password required for logging in)
You may be prompted to specify password during the install, but you can just click Next or hit the Enter key and continue without it.
METHOD 3: Install Windows 11 with a Local Account DURING SETUP
- Run the Windows setup from a bootable media
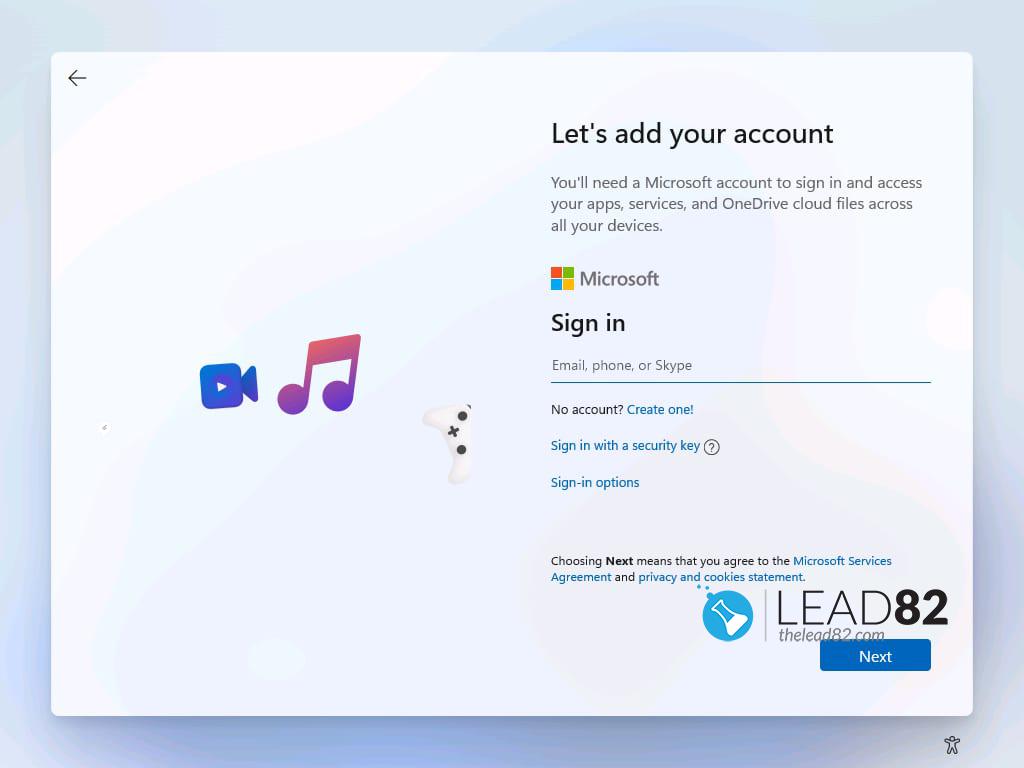
- Follow the instructions on the screen until you reach the Account page.
- In the email, phone, type any non-existing address. For example use 1@1.com as the email address
- Click Next, and type any password. Hit Enter.
- Windows 11 will show you the “Oops, something went wrong” screen. Click on Next here.
- Congratulations, you are now prompted to install Windows 11 with a local account.
That’s about it! Have fun with Windows 11!